
Getting started with Story
Turn an idea into a microdrama draft: script, cast, storyboard and video, with a chance to edit at every step. Your first story from the home page to a finished cut.
Story is the fastest route from an idea to a playable microdrama. You write what you want to shoot, choose a look, and a Copilot builds the story on a canvas: the script, the characters, settings and props, then a storyboard where every frame gets its image, its audio and its video. You refine anything you like along the way and compile the frames into one video at the end. This guide walks through your first story.
1. Create a story
Start on the home page.
In the create box, pick the Story tab.
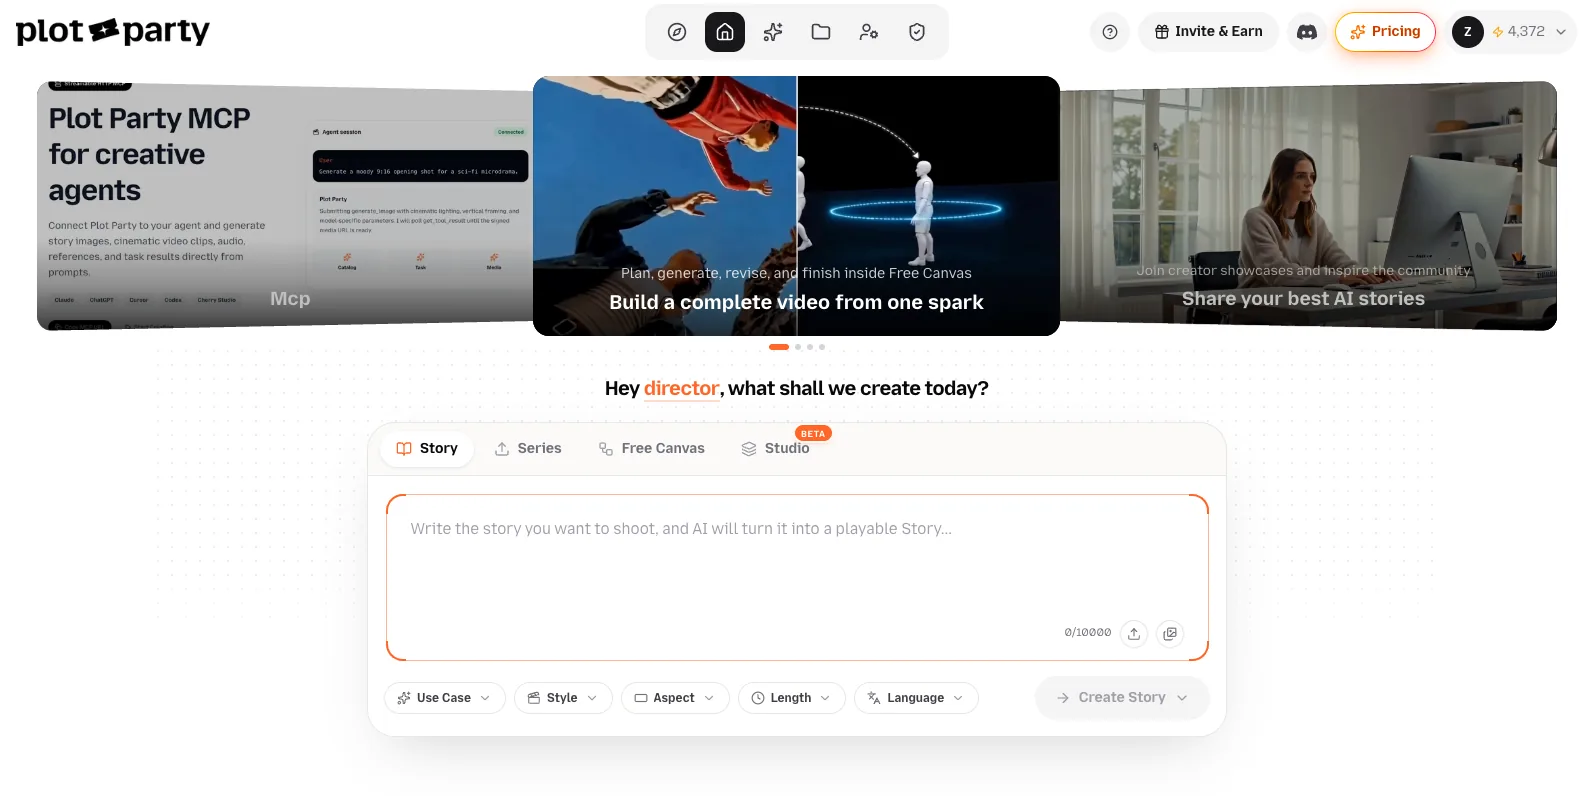
Write the story you want to shoot. A few sentences are enough; a full script works too, up to 10,000 characters.
Optionally add up to six reference images: upload them, drop them onto the box, or pick from your assets.
Set the chips: Use Case, Style, Aspect (16:9, 9:16 or 1:1), Length and Language. Style is required; choose Match my story vibe if you would rather let the AI pick.
Click Create Story and choose how to generate:
Max mode, cinematic dramas, is the recommended choice: the best quality drama generation, around 2,500 Plot Points for a full story.
Fast mode, voice-over stories, gets the idea on screen quickly for around 500 Plot Points.
The story opens and the Copilot starts working from your text straight away.
[Screenshot: The home page create box on the Story tab with an idea typed in and the Create button]
Every story you own is on the Works page under Stories. That is where you come back to it later.
2. Get to know the page
A story is a canvas of framed cards, called nodes, with the Copilot in a panel on the right. From left to right you will see:
the Script node,
groups for Characters, Settings, Props and your User Uploads,
the Storyboard, a grid of frames, one per shot,
the Preview node, a timeline player that plays the storyboard in order,
and, once you have compiled, the Compile Video node holding your finished video.
The icon rail on the left opens Info, Style, History and Series. The header has Duplicate, Guide, a switcher between Story, Scratchpad and Editor, Preview, Export and a Private / Public pill. Click Guide at any time for a seven-stop tour of the page.
[Screenshot: A story page showing the script, characters and storyboard for a microdrama]
3. Work with the Copilot
The Copilot is how the story gets made. Ask it for characters, settings, shots or changes in plain language, and attach reference images by dropping them onto the chat. Two things make your requests precise:
Add to Chat on any node puts that node in front of the Copilot, so "make her coat red" is about the right character.
Slash commands set the size of the change: /Tweak for tiny changes to the current generation, /Edit for big ones, /Regenerate to redo an image completely, /Add for a fresh new frame and /Continue for a frame that follows directly from the selected one.
The Suggestions strip above the input offers the next likely step, such as adding a character or a Full video preview. Wait for the Copilot to finish a reply before sending the next request.
4. Refine a character, setting or prop
Select any node for its toolbar: Edit, Scratchpad, Add to Chat, and under More, Regenerate, History, Download and Delete.
Edit opens the node's panel. A character has a Profile tab for its description and an Image tab; settings and props have the Image tab only. In the Image tab you pick a Model, write a Prompt, add Reference Images from your computer or from other nodes in the story, and click Generate. The button shows the cost. Shortcuts along the top apply a tool to the current image: Re-angle, Upscale, Inpaint, From Story (pick an existing image in this story), Upload and Download. Every version you generate stays in the history strip; click Use it to make one current.
5. Build out the storyboard
The storyboard is where the microdrama actually gets shot. Each frame is one moment and can hold an image, an audio line and a video clip. The header toggle switches the grid between Image and Video. Select a frame for its toolbar: the same actions as other nodes plus Add Next, Continue, Continue from mid-video and Duplicate.
Edit on a frame has three tabs:
Image: the frame's still, generated the same way as a character image.
Audio: choose the Character speaking (or Narration), the Voice, and the Script line, then Generate. The narration voice is set once for the whole story under Info.
Video: the frame's clip. Set the Shot setting, pick up to three characters for Character in frame, choose between First & Last Frame and Omni Reference depending on the model, and describe the motion. Type @ to reference a character. Enhance prompt rewrites your text into a director-level storyboard prompt for 1 credit, and Use next frame as end makes the clip land on the following frame's image. Generate the frame's image before its video.
Ask the Copilot for a Full video preview once your frames have clips, and the Preview node plays them back to back.
6. Story-wide settings
Info: the story's Name, Storyline, Narration Voice, Soundtrack and its volume. Changes save automatically.
Style: the shared Image Style, Video Style and Character Style every generation follows.
History: every task the story has run, grouped into Tasks and Frames, with failed runs filtered out by default. Deleted frames can be restored from here.
7. Preview, compile and export
Preview in the header jumps to the Preview node. When the cut looks right, open Export:
Compile Video merges every frame's clip into one video. Choose whether to Merge audio into video and add Smooth shot transitions, and whether to let us auto-trim clip lengths. The result appears on the canvas as the Compile Video node, ready to play and download.
To CapCut and To Premiere download a zip with the timeline and media as a CapCut project or a Premiere Pro XML (which DaVinci Resolve also opens), for finishing in your own editor.
Export Media zips every image and video the story has generated, including earlier versions, straight to your browser.
For fine cuts inside Plot Party, switch the header to Editor: it opens the story's clips in the video editor.
8. Publish, and grow it into a series
Stories are Private by default. Once a compiled video exists, click the pill to make the story Public; it then appears under Community Creations on the Community page, and the card on your Works page shows the Public badge.
Open Series in the left rail and click Create series to make this story the first episode of a series. The series workspace shares its characters, settings and props across episodes, and every episode there can become a story of its own with Create Story. You can also start a series directly from the Series tab on the home page.
Duplicate in the header copies the whole story so you can try a different direction.
Credits
Creating a story spends Plot Points as the Copilot generates: Max mode is roughly 2,500 for a full story and Fast mode roughly 500. Every Generate button in an edit panel shows its own cost before you click, and video models list their price per second in the model menu. If your balance runs out, the plan dialog opens and nothing is charged. Failed generations are refunded automatically. See what Plot Points are and how they are spent.